

When working with a library of different assets it is important to have full control over how all your content is presented. With Accurate.Video Asset List you can create collections of assets based on categories of your choice.
You also have the ability to search through your library combined with options to sort assets based on different categories, changing between thumbnail and list view and much more.
Note that all features and functions described in this guide may not be included in the version you are currently using.
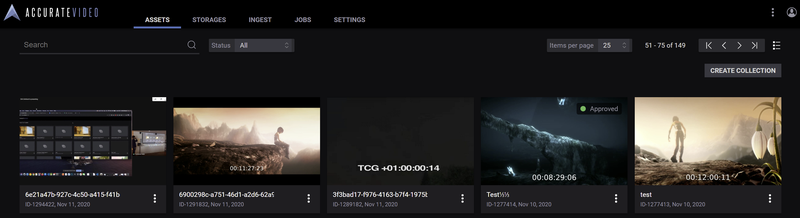
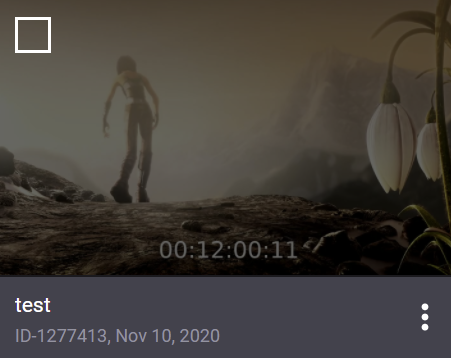
The default view of Accurate.Video is the thumbnail/grid view. Here you are presented with thumbnails that include an ingested poster from the asset. Metadata regarding Title, ID and Date of creation is also visible on each thumbnail.
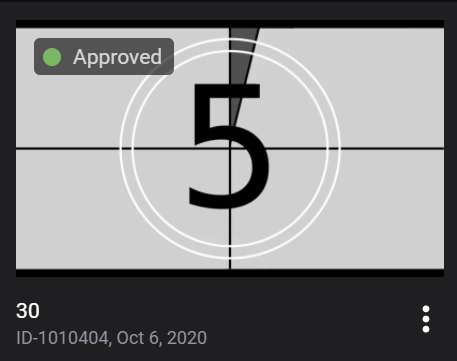
Above this there is also an indicator showing the status of each individual asset if the status is set (no indicator is shown if there is no status set).
If you have a large quantity of assets to work with we recommend using the list view. You do that simply by clicking the list view icon in the top right corner.
The biggest advantage with the list view is the ability to sort all assets in falling or declining order based on Title, ID, Creation date, Status and also based on the name of the user that previously set the status.

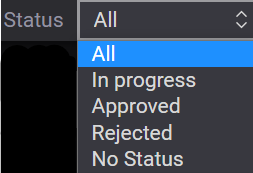
In the list view you can also regulate the visible content by only showing assets with a certain status:
With Accurate.Video you can manage all your assets with the help of collections. Collections works similar to folders where you can gather certain assets in custom collections. This is a good way to sort out different types of assets, or to gather assets with a particular status etc. You can also create collections within collections to create subcategories of your choice.
To create a new custom collection you begin by clicking on the “Create Collection” button which is located in the top right corner of the asset page. This will open a modal where you can name your new collection:
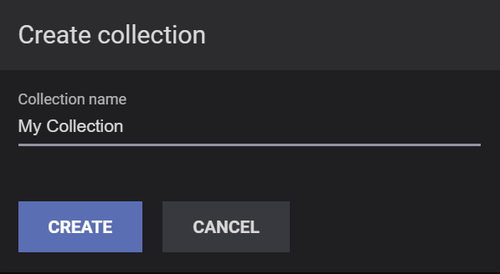
Give the collection a suitable name and click on create. This will create the collection folder and add it to the asset page.
The next step is to add assets to your collection. When you hover your mouse over an asset you will notice a checkbox on the top left corner of the assets thumbnail. In the list view you can find the checkbox next to the name of the asset. Click on the checkbox to select that particular asset.
With Accurate.Video you can also select multiple assets at the same time by clicking on the checkboxes of all the assets you want to select.
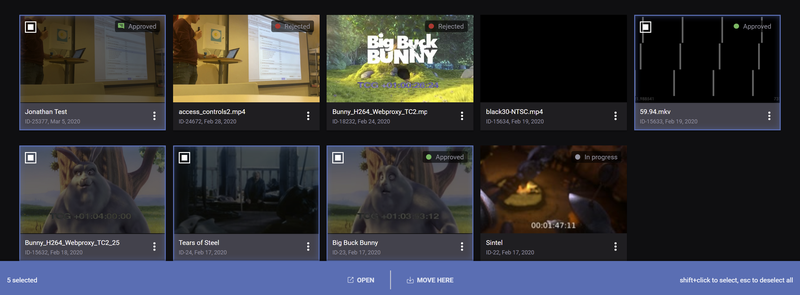
When you have selected one or multiple assets you will notice a blue menu in the bottom of your screen as you can see in the image above. Here you will find information regarding how many assets you have selected and also options to open the assets or to move them.
To move the selected assets, the next step is to open your preferred collection and click on “Move here”. This will move all your selected assets to your collection immediately.
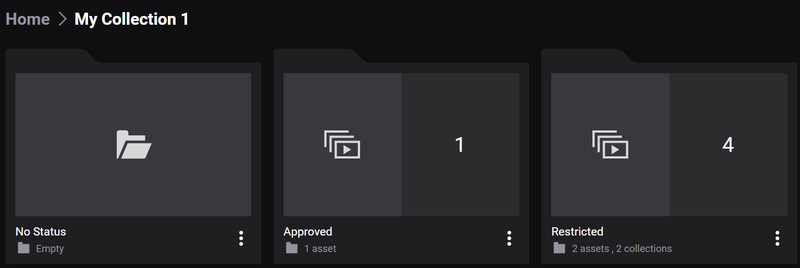
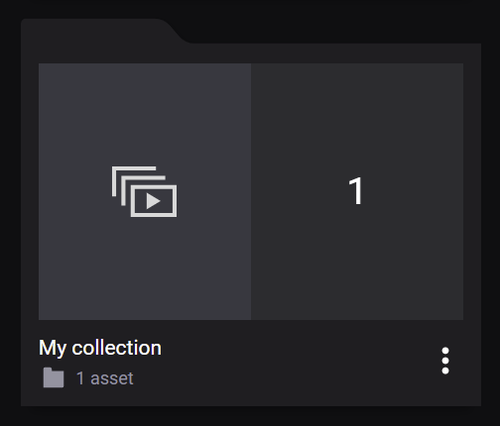
The thumbnail of your collection will update dynamically and show how many assets or subcollections it contains.
With the search input field you can search for specific assets based on both title and ID. If you type in “22” for example, the search result will show assets with “22” included in either the title or the ID number. If your search does not match any of your assets you will get an informative message. You can also search for collections with the search field.
The search field is always active and listens to all your inputs, meaning you do not have to press enter to initialize a search. Depending on where you are situated you can search from all available assets or within certain collections. To search assets only within a collection or a subcollection simply use the search function from that position.
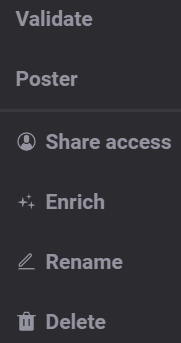
Regardless if you are situated in the thumbnail or list view, all the assets are provided with a “more” icon that include different options for your assets. By clicking the icon a dropdown appears that lets you open the particular asset with different applications.
Here you also have the ability to change the access of the asset for other users (if you are an administrator or if you have “modify all access”), enrich the asset and change the title of the asset.
As an administrator you have the ability to select individual access to users or a group of users for a particular asset. You also have the right to choose access to others if you are granted the modify all access. When you click on “Share access” a modal appear:
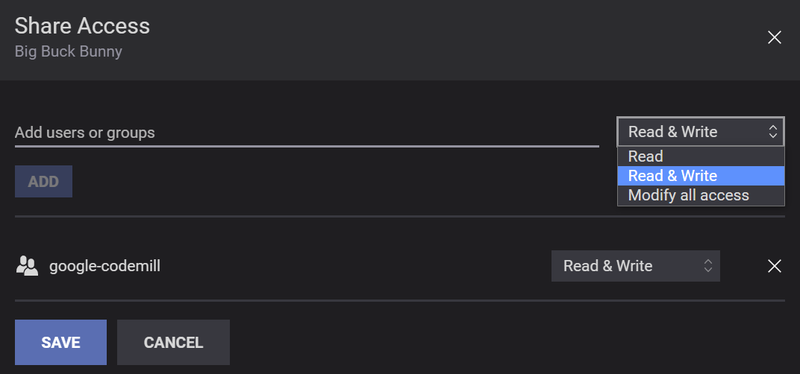
You can easily add users through the “Add users or group” field. Then simply select the level of access in the dropdown to the right and finally click on the “ADD” button. All added users are listed in the bottom of the modal, and there you can also change access at any time. The three different level of access are:
With Accurate.Video you can use AWS rekognition services on already ingested assets through the "Enrich" action. Here you have the ability choose between the following services:
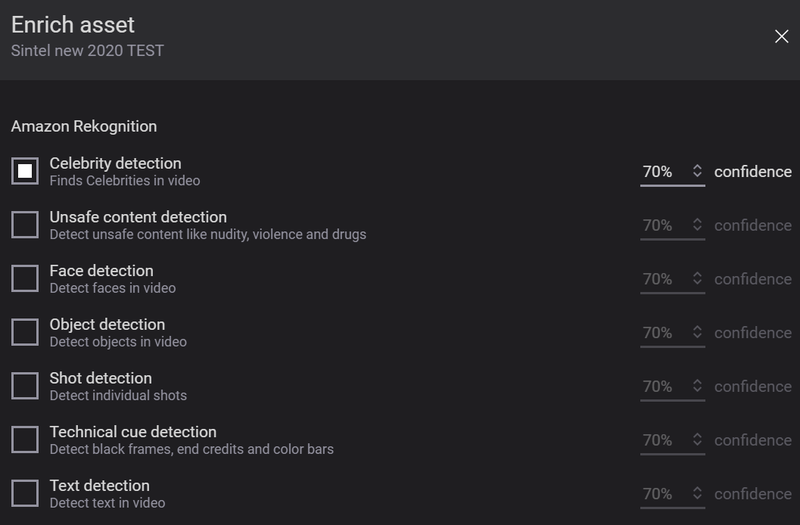
You can read more about the enrich function with AWS Rekognition here.
Everything you configure regarding pagination and sorting etc is saved during the session in the local storage. This is very important since a lot of users go back and forth between the different applications and the asset list.