

This guide covers deploying Accurate.Video using Amazon Elastic Container Service (Amazon ECS) and AWS Fargate. Pre-created AWS CloudFormation templates are provided with sensible default values to quickly get you started using Accurate.Video by simply following the steps below in order.
Note: This guide is not intended for deploying Accurate.Video through the Amazon Marketplace. Please refer to the guide below for Marketplace deployments.
Accurate.Video Marketplace setup
The diagram below shows how the Accurate.Video system looks like after deployment.
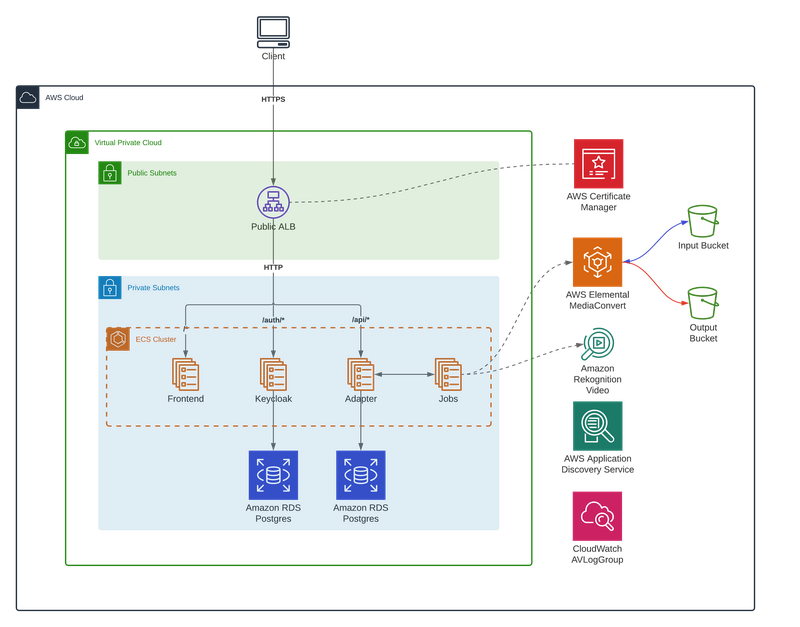
Note that this shows an example integration setup with AWS Elemental MediaConvert and Amazon Rekognition. These services are optional and other services can be integrated as well.
Before you get started with this guide, there are a couple of prerequisites that must be met.
There is one manual step that needs to be performed before you can get started with this guide. Amazon Elastic Container Registry (ECR) is used to host the required product containers, and your AWS Account Id needs to be whitelisted to be able to download containers.
Refer to the link below on how to find your AWS Account ID.
AWS General Reference - Your AWS account identifiers
Make sure you have access to an account on Amazon Web Sevices which has sufficient access to create all of the required resources, this usually means administrator access.
You'll need a license key of Accurate.Video to get started. Please reach out to us at sales@codemill.se if you don't.
You'll need a hosted zone in Amazon Route 53 to be able to access the application. If you already have a hosted zone created, you can skip this step and re-use that during creation.
Go to the CloudFormation console and click Create stack. Select "Template is ready", and enter the S3 URL to the template.
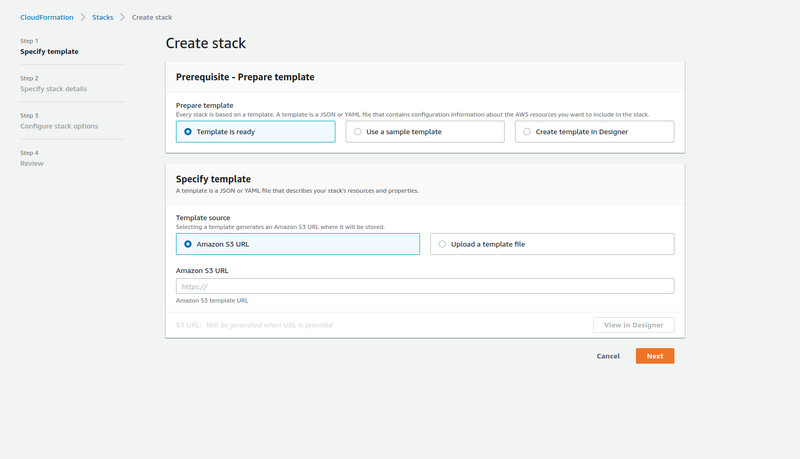
You'll see all the parameters from the stack template, where at least two private and two public subnets, the hosted zone id, and a domain name needs to be entered. The other fields you can keep at their default values unless you know the implications of changing them.
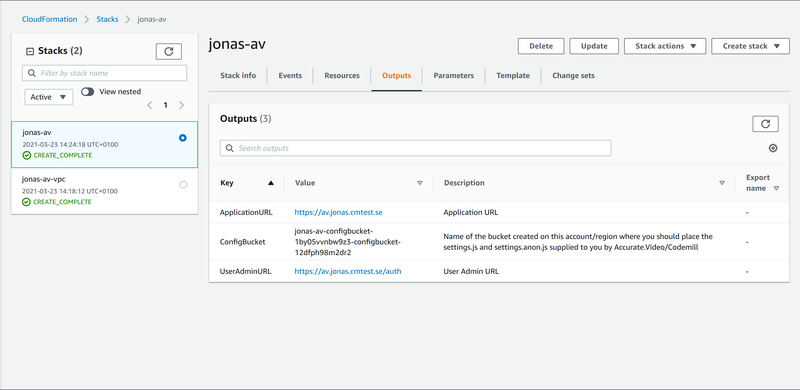
Once the application stack has completed, you can find the relevant links to the application itself in the outputs tab of the stack in the AWS CloudFormation console.
AWS Secrets Manager is used to manage the secrets generated by the AWS CloudFormation stack. Navigate to the secrets manager console to find the required secrets to access the admin section.
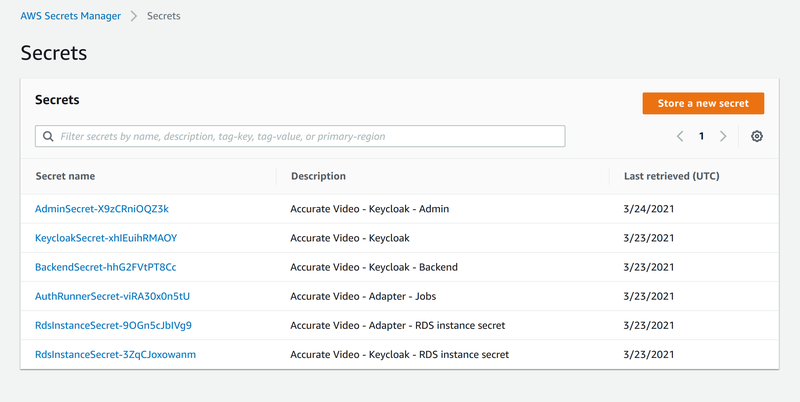
Note the values of the secrets here, you'll need them when logging in to the application and accessing the admin UI. Note down the following two:
Click on the secret and then click Retrieve secret value to get the user and password.
In Amazon Simple Storage Service (S3), a bucket is created during deployment of the stack, to store and make it possible to upload application settings.
The S3 bucket name can be found in the output tab of the AWS CloudFormation stack. Navigate to the S3 console, and find the bucket.
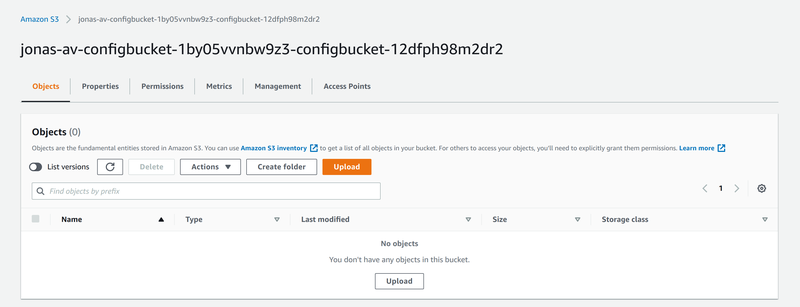
You'll find that the bucket is empty, settings need to be uploaded.
Download the zip-file below, which contains a starting template for settings.
Unzip this zip-file somewhere, and edit the adapter/settings.js file. Find the section for the license key, and enter yours, then save the file again.
licenseKey: "ENTER-YOUR-LICENSE-KEY",
The license key is the only required setting, but there are many application settings available. Refer to the guide below for more details.
Upload the entire adapter folder by clicking Add folder in the S3 UI.
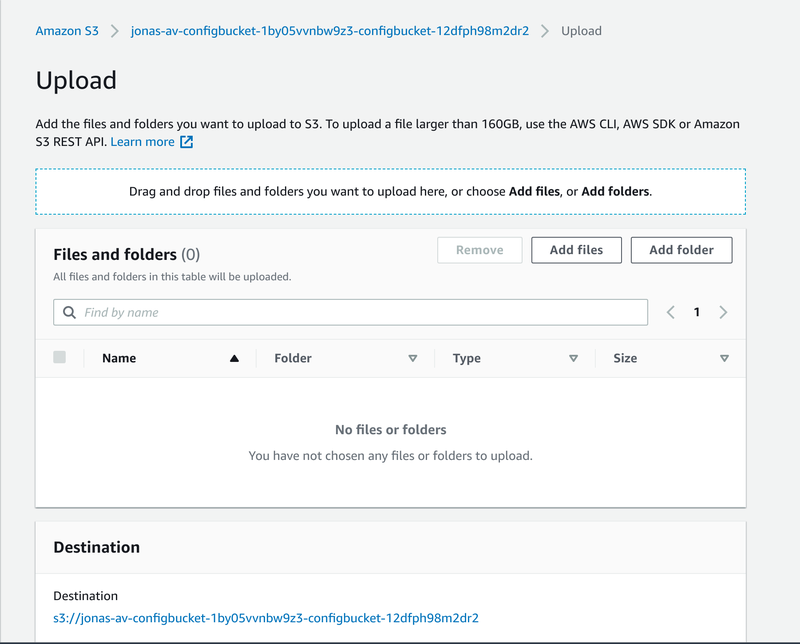
Make sure both files in the folder are uploaded. The settings will now be automatically deployed as described below. You'll need to wait a couple of minutes for this to take effect.
Once a file is uploaded to this S3 bucket, a notification event is sent to an Amazon Simple Notification Service (SNS) topic, which will trigger an AWS Lambda function that initiates a new deployment with the latest settings. The deployment will launch new tasks in AWS Fargate, wait for them to be healthy, and then terminate the old tasks.

While waiting, you can move on to configuring users and roles.
A pre-configured Keycloak instance is deployed together with the application stack. It's part of the system and is responsible for managing users and roles.
Keycloak supports standard protocols such as OpenID Connect, OAuth 2.0, and SAML 2.0. You can easily connect a third-party federated login service, such as Okta, Active Directory, Amazon Cognito, Google, and many more. Refer to the Keycloak documentation below for more details.
Keycloak server administration docs
To access the Keycloak admin UI, open the UserAdminURL from the stack outputs tab.
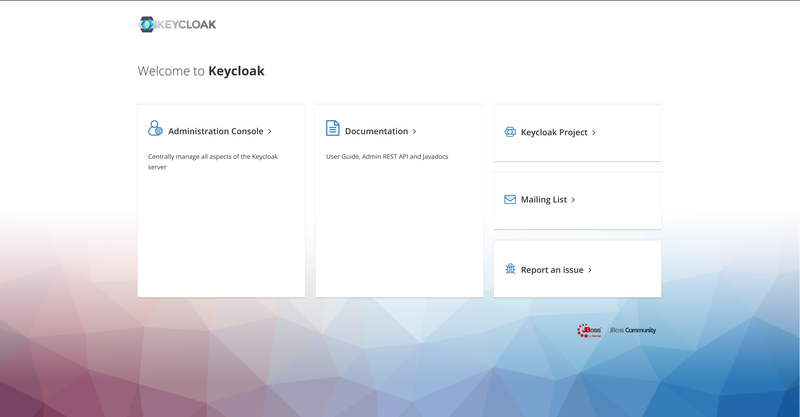
Click on the administration console, and log in using the credentials from KeycloakSecret* in the secrets manager.
Note: If you get the error below, just click on Go to the homepage.

In the Keycloak admin console, you can manage users, roles, and groups. You can either give users roles directly or assign them to groups to inherit roles.
Refer to the guide on roles and permissions below for more details.
Authentication - Roles and permissions configurations
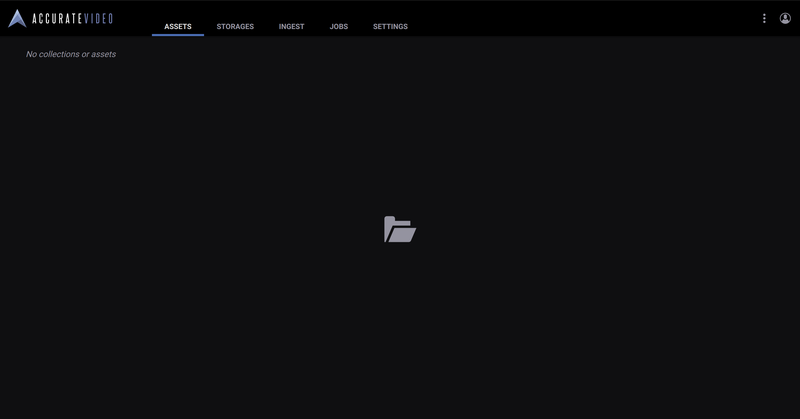
You can now log in to Accurate.Video by opening the ApplicationURL in a new tab. Log in either with a user you create in Keycloak, or using the admin user defined in the secrets manager as AdminSecret. You should see an empty asset view as below since there are no assets or storage configured yet.
The next step is to connect some storages, refer to the guide below for detailed info on how to connect S3 buckets.
Content needs to be ingested before it can be manipulated. Refer to the guides below for more details.
Configuring SNS and S3 event notifications in Accurate.Video
Congratulations on deploying Accurate.Video using ECS successfully!
If you want to learn more about Accurate.Video and its functions refer to the detailed user guides below.
Accurate.Video Validate Userguide
Accurate.Video Poster Userguide
Accurate.Video Asset List Userguide
To learn how to upgrade Accurate.Video to a new version, refer to the guide below.