

Keycloak is an access management solution and open source identity for both applications and other services. Instead of authentication with an individual application, users can rely on Keycloak.
This is convenient for an application, since it doesn't have to deal with authenticating and storing users. It also won't have to work with login and sign-out forms in the same way it normally would. Keycloak also have implementations to Active Directory and LDAP.
You can learn everything you need to know about Keycloak with the guide on their homepage.
To setup Keycloak with AV correctly, you have to create a realm, create clients and then add the actual users. This guide will go through what you need to know to get started.
Begin by starting up Keycloak and add your admin credentials.
Log in to Keycloak with correct URL depending on your settings: http://keycloak-*your-settings/auth
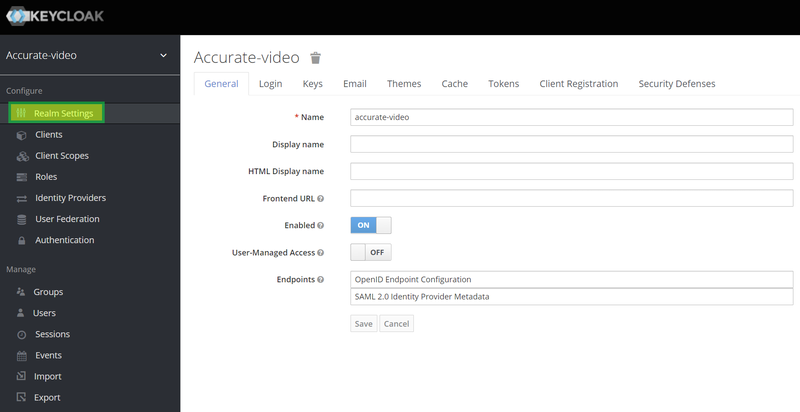
Click on "Realm settings" as shown in the image and create a realm: "accurate-video".
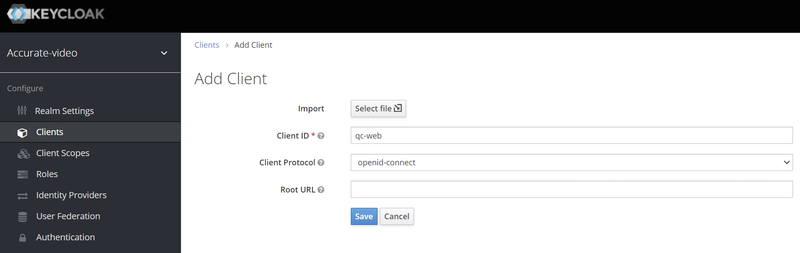
The next step is to create a client. Click on "Clients" in the left menu and then "Create" in the top right corner. Create a new client with client id: "qc-web" and client protocol: "openid-connect".
When the client is created, click on the client and go to the settings tab. Here you will find a field named "Access type". Click on the dropdown and set the access type to "public" for the client.

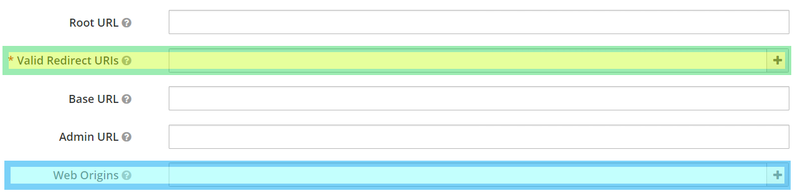
Beneath the "Access type" field you will find the "Valid Redirect URLs" field that is highlighted in green in the image below. Add the full URL that your qc-web is accessed to (https://foo.bar/login.se for example).
Highlighted in blue in the image below is the "Web Origins" field. Here you should add the short URL that your qc-web is accessed to (https://foo.bar.se for example).
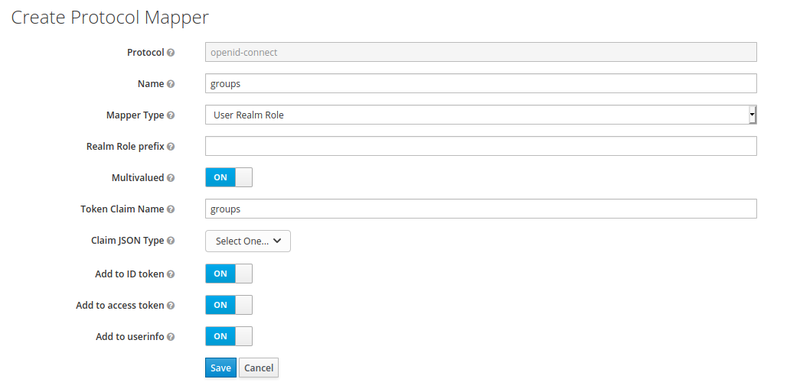
Next you need to create a mapper for the client that maps roles, groups and permissions in the realm to appropriate JWT claims. Click on the Mappers tab, and then Create.
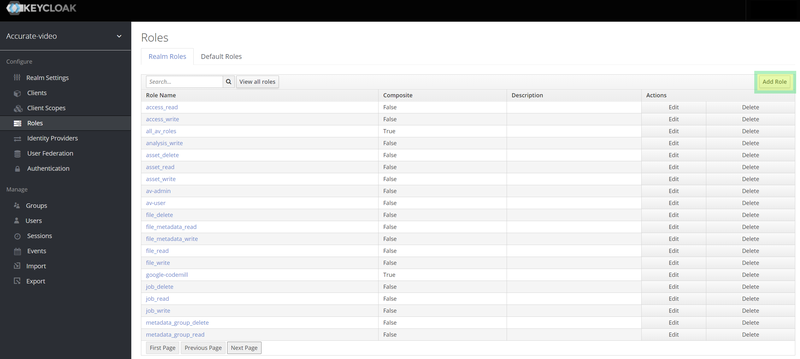
The next step is to add roles. You can read more about all the AV roles and how to configure roles and permissions in this guide.
In the menu to the left, click on "Roles" and then "Add role" as shown in the image below:
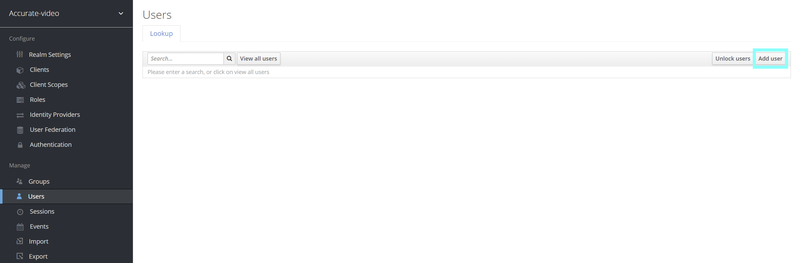
When you have your realm and client configurated, you can now begin creating new users for your system. When you log in to Keycloak as an admin your page should look something like the image below. Simply click on “Users” in the left menu and then click on “Add user” in the top right corner as shown at the image :
When you click on the add user button you will be redirected to the actual add user page that should look something like this:
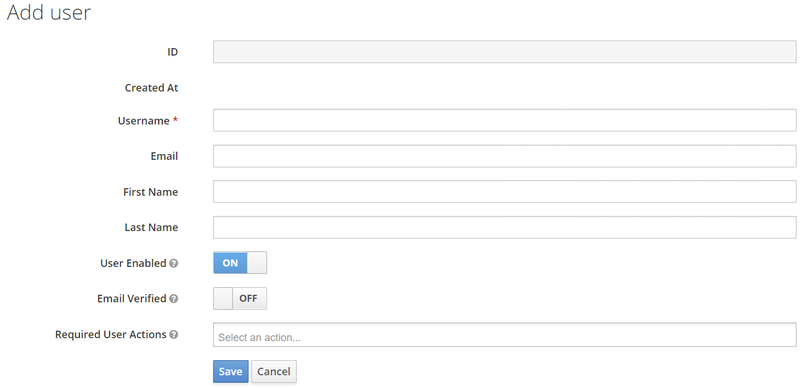
Every data that is not automatically generated regarding the user can be edited afterwards, below is a description of each field from top to bottom:
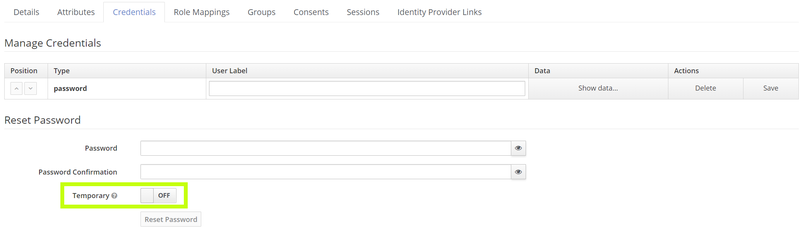
When the user is created your next step is to set the credentials. Click on the specific user you want to create a password for and then click on the “Credentials” tab. From this page you can set a password and also decide if the particular user is bound to change the password when logging in for the first time. This is decided with the “Temporary” toggle that is highlighted in the image below:
When the credentials are set, the user is ready to login to your system.
This concludes the guide for setting up Keycloak. Please read the guide "Configure Keycloak, Frontend and Backend" for further information.