AV Poster is the perfect tool if you want to create a poster from a specific frame to promote your video. A good poster or thumbnail can be the difference between a customer being drawn into opening a certain video or simply refusing because of how it looks.
The poster/thumbnail is often the first thing you will notice when scrubbing through and searching for a video, so it is very important to get it right. This guide will go through everything you can do with AV Poster to make every video appealing for the customer.
Note that all features and functions described in this guide may not be included in the version you are currently using.
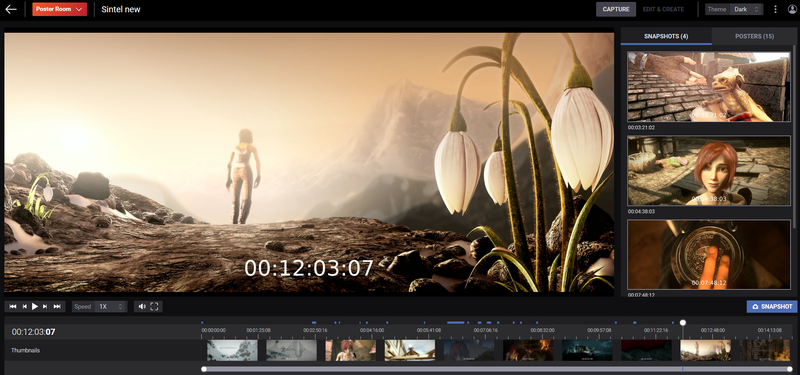
The AV Poster timeline represents all the content of the video with frame accuracy. With the ability to zoom in on the timeline you can actually see each individual frame. You can also hover over the timestamps to get a preview of the actual frame.

Your accurate playback position is always represented by the current time indicator. Play the video and you will see it flow gracefully through the timeline; stop the video and it stops immediately. The current time indicator cuts through the entire timeline to make it clear where you are positioned.
This powerful tool lets you scrub the video to anywhere at any time, regardless if you are clicking on a specific timecode or if you drag and release the indicator. Timecode inputs and the framestep functions also update the position of the current time indicator instantly. The current time indicator also visualizes the buffering of the video in a subtle yet distinct way.
With Accurate.Video you have full control over your video on a level of frame detail. Apart from play and pause you also have the ability to framestep one or ten frames back and forth.
Added to this is the ability to change playback speed from the range of 64X speed to negative 16X speed presented by a convenient dropdown menu. All the settings are dynamic and can be changed during playback.
On the playback panel you will also find the parent volume control and a button to show the video in fullscreen.
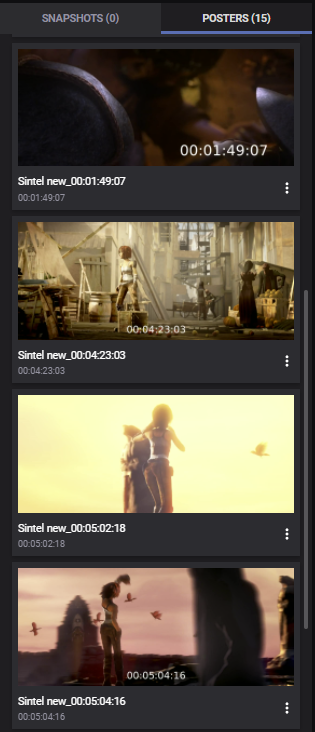
The default mode of AV Poster is the Capture mode. It is here you capture all your snapshots and it is also here where you can find all your created posters. In this mode you can alternate between the “Snapshots” tab and the “Posters” tab. Down below you will learn everything you need to know.
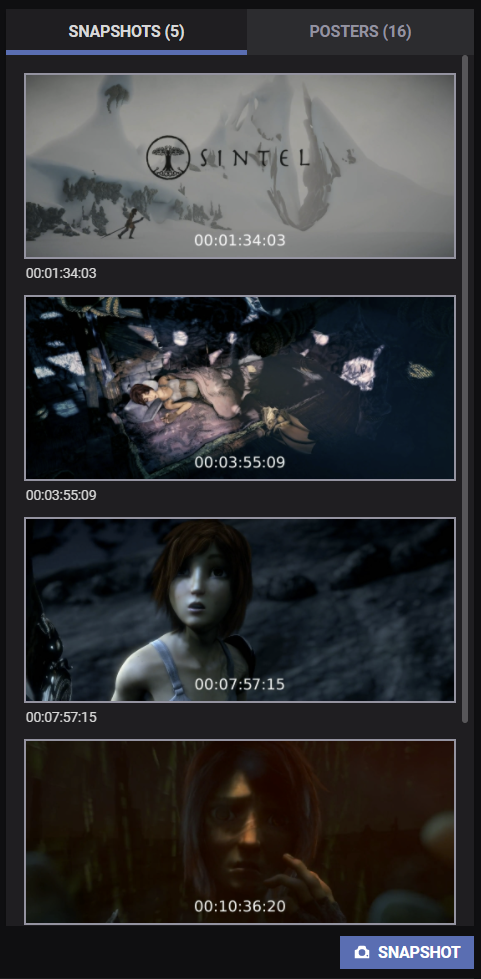
The first part in the process of creating a poster is to take a snapshot, which is basically a low resolution replica of a chosen frame from the proxy that is stored during the session. With AV Poster you can either take a snapshot with the integrated button, or with hotkey “s”.
All the snapshots you take are gathered in a highly visible list, and they are sorted based on the timecode of the snapshot. If you click on the timecode under each snapshot you are immediately taken to the corresponding position in the video. If you take multiple snapshots, a scroll function appears.
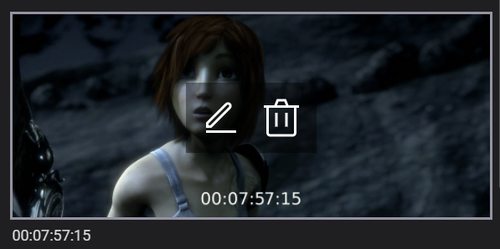
From the list of snapshots you can also conveniently delete any snapshot with the click of a button. Simply hover over any of your snapshots and you will be presented with two options: A Shortcut to edit the particular snapshot with the Edit & Create mode together with a delete button.
A poster is a high resolution image from the original video. The Poster tab is where you can find all of your created posters and also where you can download them to your computer. The presentation is similar to the list of snapshots, but here you actually have the high quality finished product and an options button under each poster. If you click on the button you will see a modal with three options:

If you click on File info you will be presented with all the metadata of the specific poster. Here you find the following information about the poster:
Click on the download option to immediately download the poster to your computer in a PNG or JPEG format depending on your configurations.
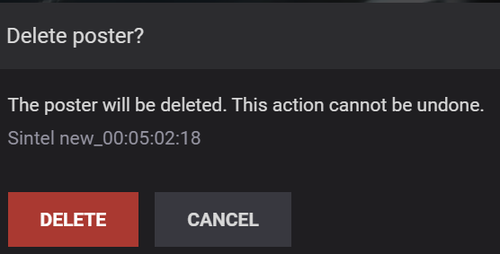
When you click on this option a modal for confirmation appears. When you delete a poster you remove it from the list of posters.
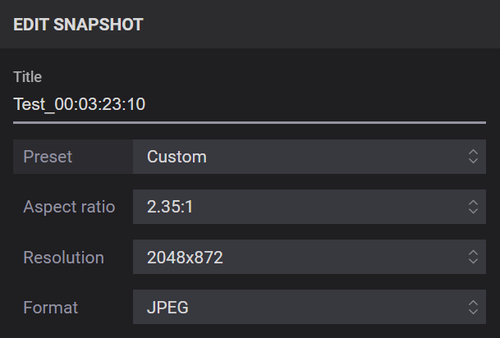
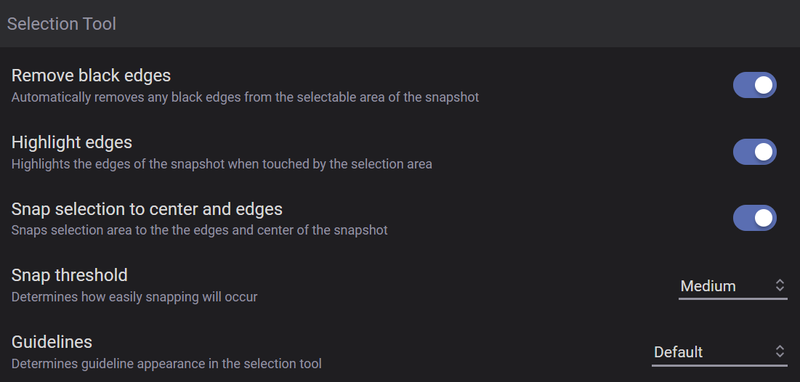
This mode is where you adjust and customize your snapshot to make it perfect before actually creating the poster. The backbone of this mode is the selection tool, where you can edit just about everything regarding your snapshot. You are also provided with a wide range of editing options:
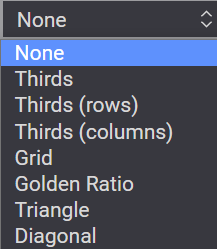
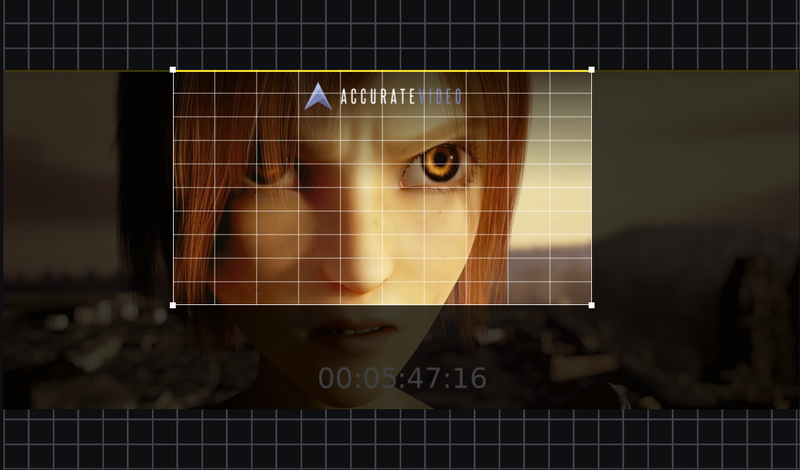
The guideline setting is a great utility to help you optimize your poster and to organize the composition and symmetry of the final product. The guidelines act as a grid on top of your snapshot, and different guidelines have different advantages depending on the type of poster you aspire to create.
Guidelines will basically make it easier for the user to set everything straight, and to center align elements to give the poster correct proportions.
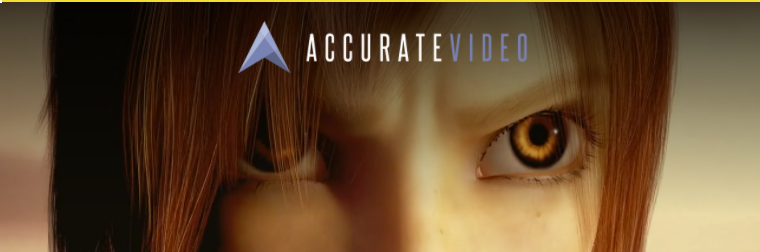
The overlay setting is the perfect feature to preview how logotypes and other kinds of custom layers will appear on the poster. Instead of creating a new poster everytime the logo does not appear correct you can actually see exactly how it will look before it is implemented on the poster. Here is an example with an Accurate.Video overlay activated:
The selection tool is a grid based editing tool that allows you to be creative and customize your snapshot. Here you have endless possibilities and you can choose exactly what portion of the frame you want as the poster.
With this tool you can drag and grab the corners of your snapshot to zoom in or out. If you want the snapshot back to the original state you can simply double click the selection area of your snapshot. Together with the guidelines the selection tool makes it easy to create a nice looking poster.
Under the user icon in the top right corner you will find the preferences menu. For AV Poster you can change the following:
All your snapshots are gathered in a reel under the selection tool. Here you can change between your snapshots with the click of a button and the thumbnails change as soon as you edit them in any way.
The snapshot you are currently working on with the selection tool are highlighted in the reel. If you have so many snapshots in the reel that they do not fit the screen, a scroll function will appear.

When everything is set and done and you are happy with the snapshot, it is time to create the actual poster. Simply click on the “Create Poster” button and notice a modal that informs you about the poster being created. When the poster is finished you will be notified as well. Go to the list of posters to view your new poster and click on it to see the poster in full screen.
With AV Poster you can create multiple posters at the same time. Simply hold down hotkey “Shift” and click on all the snapshots from the reel that you want to transform into posters, and then click on the “Create Posters” button.
To unselect a certain snapshot, hold down hotkey “Shift” and click on it again.

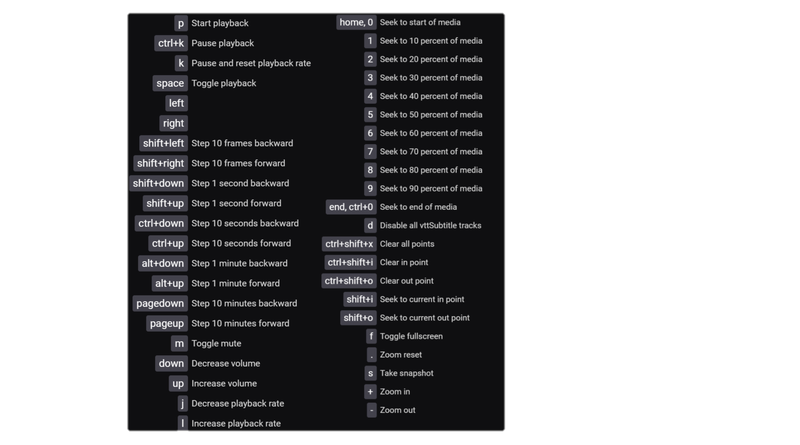
For your convenience AV Poster contains hotkeys for almost every visual button and function. There are also additional hotkeys which give the users even more advanced options. When you get to work with the application you will notice that the hotkeys save a lot of time. Here is the full list of the hotkeys for AV Poster: